 October 24, 2019
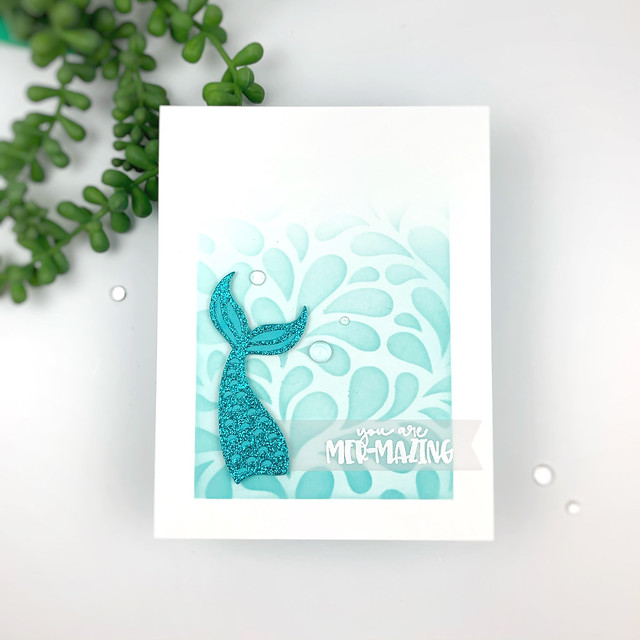
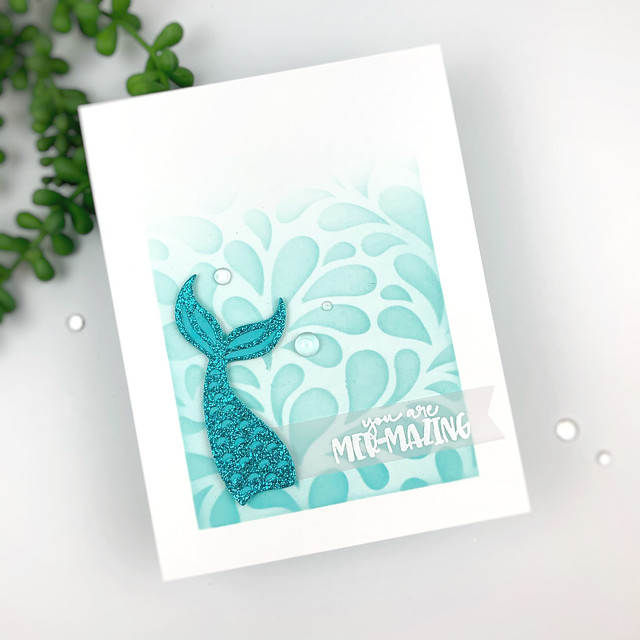
Today is the last day of the Taylored Expressions Masking Stencil Release Party. I have had so much fun sharing my little creation with you and I hope you enjoy them as much as I do! I have 2 cards left to share. You can also keep scrolling to see all of the Masking Stencils and I added in the videos from this week too, incase you missed them.
Today I am giving away one set of Masking Stencils. It will be winners choice of one shape of the 4 stencils available. If your name is drawn and you have already purchased the stencils, you will be able to chose one stencil from the Taylored Expression shop. You just need to leave a comment here on my blog and I will choose a winner on Monday. Commenting will end on Sunday night, October 27th at 11:59 CST.
_____________________________________
CARDS

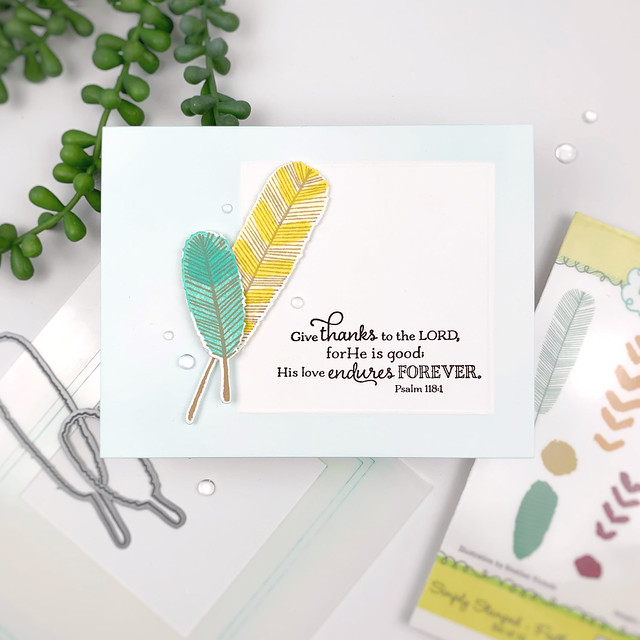
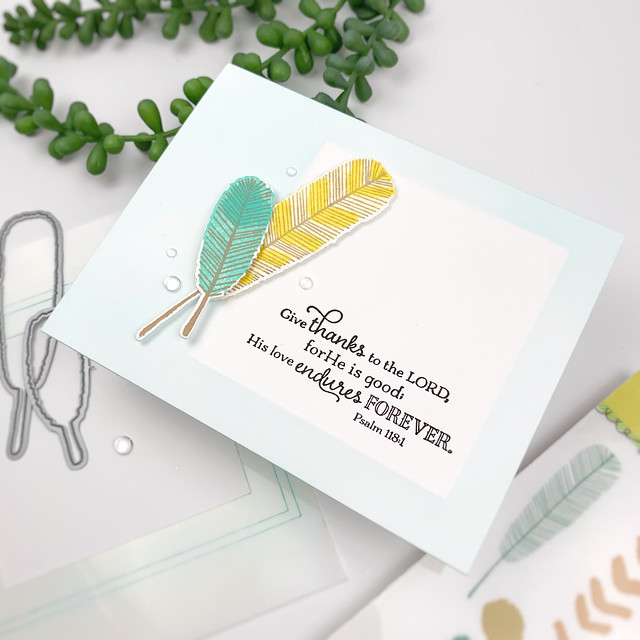
To create this card, I actually used the square stencil as a scoring guide. I lined up the square with the lines on my Scor-Pal and created a scored box on the from to of the card. Next, I used the Square Masking negative to cover the scored area. I blended ink on the outer portions of the card very lightly leaving the scored area white.

I stamped the the sentiment inside the square and then added the Feathers to the card front. Adding in a few clear drops for a little extra detail is one of my favorite things.
Click HERE to check out how to purchase all 4 Masking Stencil sets in ONE BUNDLE.
_____________________________________
MASKING STENCILS
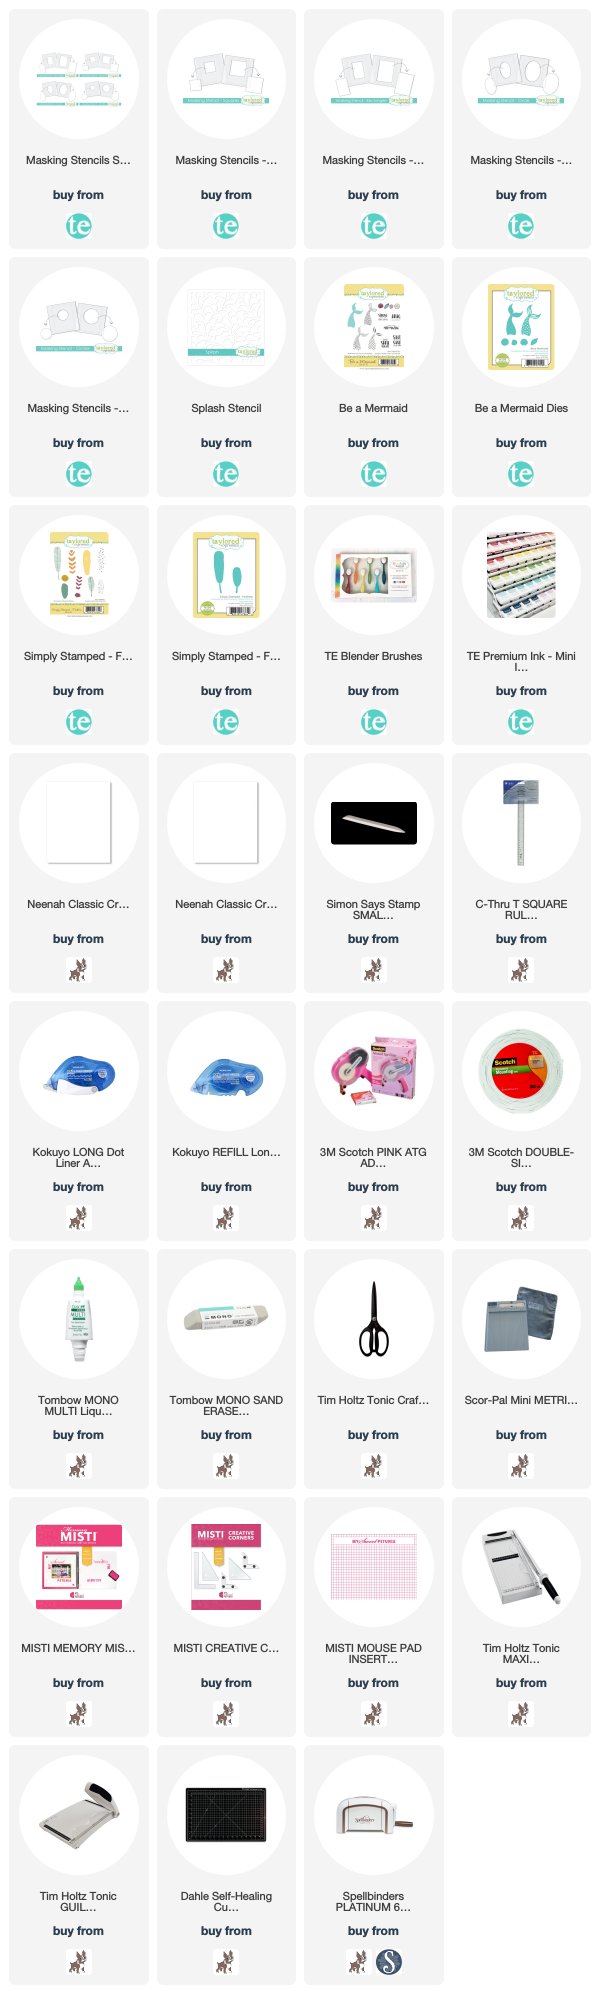
Here are the 4 sets of Masking Stencils that are available now. There are 4 shapes, 2 of each which are all pictures below. The stencils are $14 for the set of 2 and $48 for the full set.
The Masking Stencils will have lots of uses for mixing techniques but here are a few benefits....
1. No more masking with washi tape hoping your lines are straight and your paper doesn’t rip when you remove it. Simply use Pixie Spray or purple tape to adhere the stencil to the back of your cardstock panel - no more ripping!
2. There are two lines etched into each stencil for perfect alignment of an A2 card base or the layer just inside an A2 size (4” x 5.25”). Takes the guesswork out of centering the mask!
3. The stencil mask also includes the solid shape that falls out from the middle allowing you to reverse mask or apply two tones of ink to the project.


_____________________________________
LIMITED TIME PROMOTION
For a limited time, if you purchase the Bundle of all 4 shapes, you get a free 1/2" Purple Masking Tape.....

_____________________________________
VIDEOS
_____________________________________
MASKING STENCIL INSPIRATION
Check out more Masking Stencil inspiration by stopping by these blogs....
Thanks so much for coming back by today. Hope you have a great day!

_____________________________________
FIND ME OVER ON:
Instagram: Laurie Willison (@laurie_willison)
YouTube: Soapbox Creations
Facebook: Soapbox Creations
All products in today's post are linked below and throughout the post. These are my personal affiliate links which you can shop from at no cost to you! :) Thank you for supporting Soapbox Creations!

No comments
Post a Comment